Image
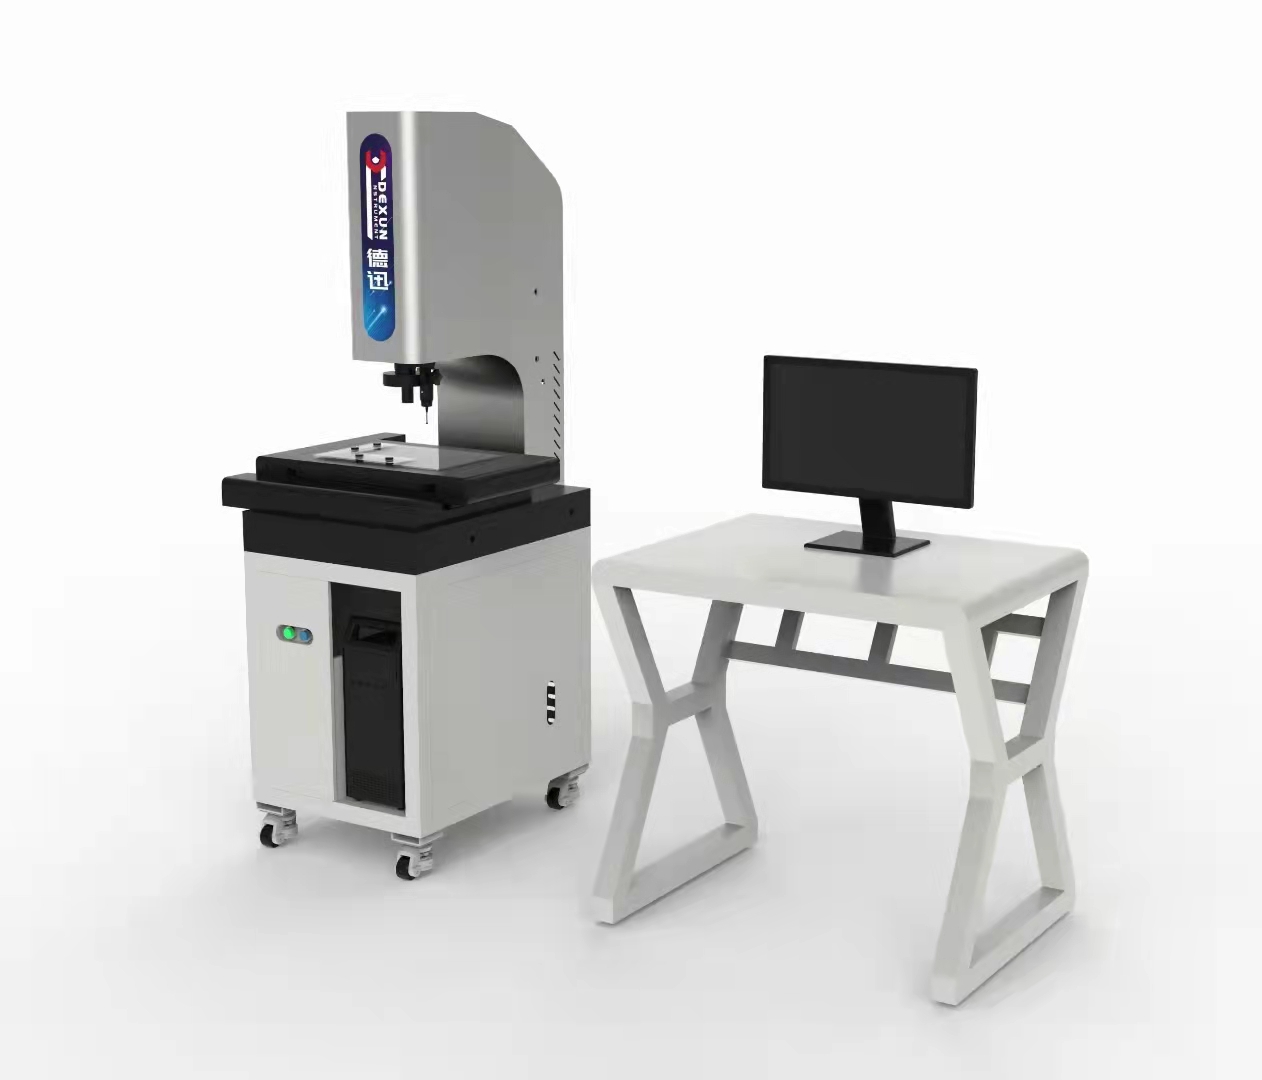
Measuring Instrument is a high precision measuring instrument based on CCD digital image, which combines computer screen measurement technology and spatial geometry computing ability. The measuring method of the instrument belongs to optical non-contact measurement, so it needs to scan the workpiece.
For image measuring instruments, the measurement accuracy needs to be very accurate, so the scanning also needs to ensure correct operation and clear scanning effect. What should be paid attention to when scanning image measuring instruments? This article will briefly introduce.
The backlight of image measuring instrument shall be paid attention to during scanning. No other strong light source interferes with scanning. The workpiece to be tested cannot be moved during scanning, otherwise the scanning result will be affected. The scanning surface of the workpiece to be tested shall not be too inclined. If the inclination is too large, the results of the whole image measuring instrument will be greatly affected.
If it is necessary to move the probe when the image measuring instrument is scanning, the operator should pay attention to the fact that the measuring head of the image measuring instrument cannot contact the workpiece to be measured, and the scanning operator should also pay attention to controlling it. Within a certain range, it cannot be too fast or too slow. If the speed is too fast, it is bad for the instrument. If the speed is too slow, the whole measurement process will be affected. Please remember not to stop in an emergency during the movement, otherwise the measurement will be affected. result. Briefly describe the precautions of image measuring instrument in scanning
With the development of society, industry and technology are constantly improving, and various workpieces are developing faster and faster. Therefore, the measurement requirements of the workpiece are more and more. Image measuring instruments are used for high-precision optical image measurement. This instrument is specially used to measure the size of the workpiece, which naturally evolves very well. Electronic digital Brinell hardness tester
The image measuring instrument is applicable to all application fields of 2D plane measurement, but it can also be used for stereo inspection, but the process will be more complex, and some configuration and improvement are required for stereo size detection, but not all workpieces are easy to measure. Some workpieces have blind holes. The blind hole shall not be missed during measurement. How to measure the blind hole in the image measuring instrument. This article will briefly introduce the following contents.
Generally, the measurement of blind hole by image measuring instrument is mainly to use the combination of light source and lens axis to irradiate the original surface of the workpiece in the parallel direction, and then form a mirror image on the surface. The workpiece, so that Z finally detects blind holes of various sizes. The contents of blind hole detection include depth and size. Portable magnetic particle flaw detector
In addition to the above method for detecting blind holes, the image measuring instrument can also be equipped with a probe for detecting blind holes. The purpose of the image measuring instrument is to better understand the precise dimensions of the workpiece. As the image measuring instrument is convenient and fast to use, it has brought new development to the measurement field in China.


