Privacy statement: Your privacy is very important to Us. Our company promises not to disclose your personal information to any external company with out your explicit permission.
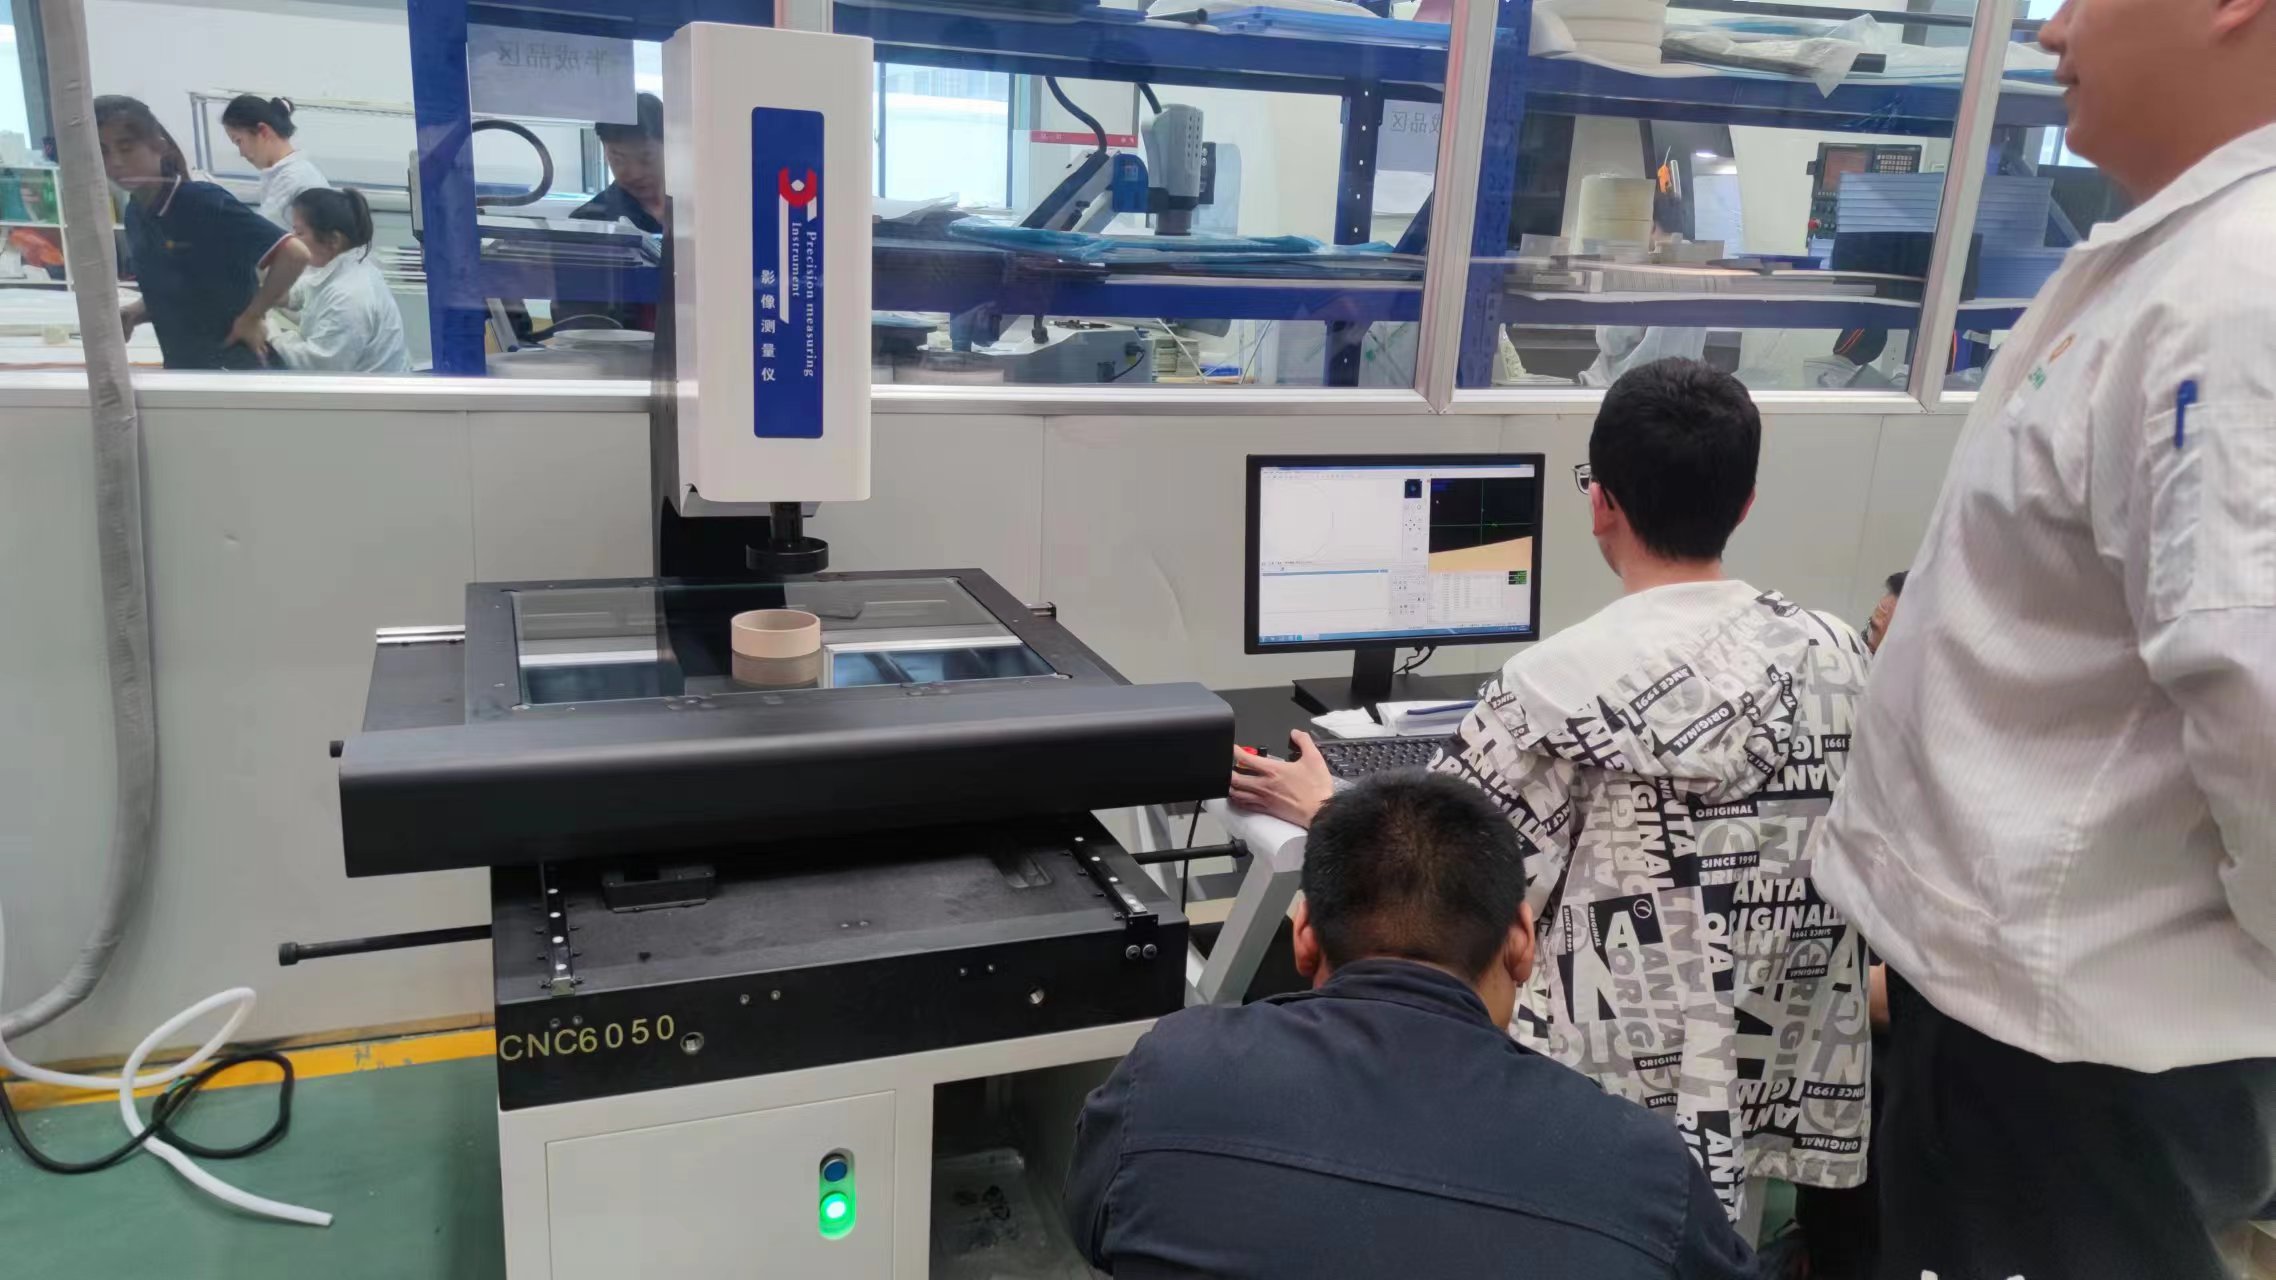
Many mechanical parts have very short edge lines for measured angles, ranging from 2mm to 3mm, for example, chamfering of shaft parts. If we still use a lens range of 0.7 or 1 for point measurement, the imaging of the workpiece will only be between 48mm and 120mm, and the deviation of the point measurement will have a significant impact on the measurement value. If we switch to a magnification of 3 or 4, the imaging of the workpiece can reach 240mm~480mm, making it easier to observe the true situation of the image edges of the automatic video measuring instrument, and the sampling point deviation will be minimized. However, this method also brings a lot of inconvenience, as the graphics are too large and the display window can only display a small part. However, for skilled inspectors and quality control personnel who pursue high precision, these should not be a problem.

From the moment when the second-dimensional image measuring instrument appeared, the precision measuring instrument really entered the development era of high-precision measuring instrument. It was...
Can a fully automatic 3D image measuring instrument measure height? How much can a typical accuracy cost? Two dimensional measuring instrument, also known as image measuring instrument, is a...
Email to this supplier

Privacy statement: Your privacy is very important to Us. Our company promises not to disclose your personal information to any external company with out your explicit permission.

Fill in more information so that we can get in touch with you faster
Privacy statement: Your privacy is very important to Us. Our company promises not to disclose your personal information to any external company with out your explicit permission.