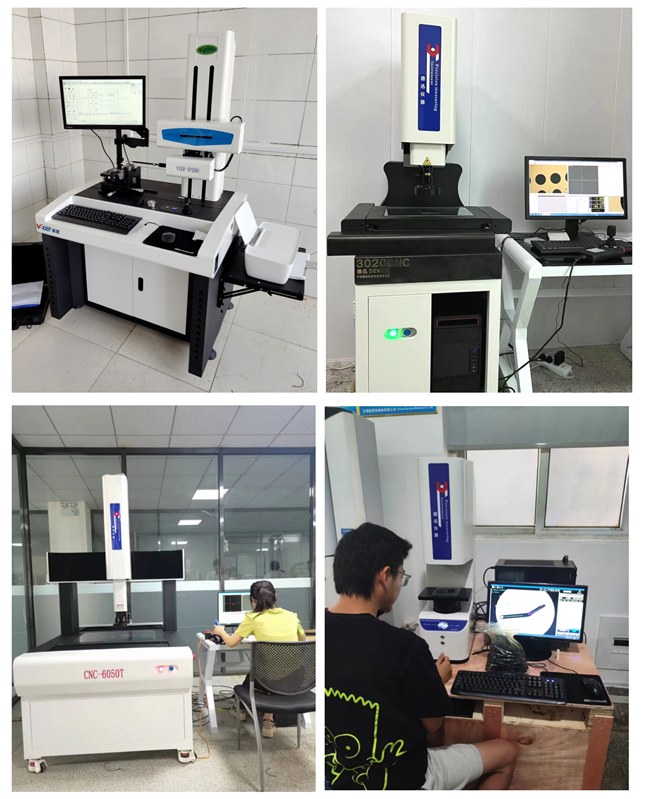
What is the purpose of calibrating the side head of an image measuring instrument?
October 28, 2023
The commonly used side head calibration is mainly based on the indicator value of the length of the side head, the axial force value of the side head measuring needle, and the half meridian obtained from the side head side. The calibration of the side head and the standard ball of the anime imager has a key effect in the whole process of accurate measurement. The application of the side head can fully automatically align the product workpiece, accurately measure in the sequence, and check after the sequence, which can not only reduce the advance preparation time of the product workpiece, improve the availability time, but also reduce the damage of the product workpiece caused by the manual alignment deviation.

The calibration of the side head of the image
Measuring Instrument during inspection can eliminate the deviation in the co inspection quantity caused by the side head. And each can be manually or fully automated to define the side head. By reminding precise measurement elements to delete points and improve point changes, specific values of the measured basic elements can be obtained. Everyone knows that the daily maintenance and upkeep of image measuring instruments is crucial, but when the instruments are not working or in operation, there is also strict management of the surrounding environment. This type of environment will have a slow shadow box on the instrument, and if you don't pay attention, the service life of the instrument will gradually decrease. Therefore, users should pay attention to this challenge, as the accuracy of the instrument can also be affected by the environment. General instruments must be placed in a clean environment, and there are also the following regulations:
1. Reduce oil stains: Image measuring instruments are highly precise instruments, so their slides, camera lenses, grating rulers, and plan laminated glass should not be contaminated with oil stains, otherwise it will endanger all normal applications of the instrument. Be careful not to touch the instrument immediately with unclean hands, and it is best to carry pure cotton gloves.
2. Clean environment: The fully automatic image measuring instrument is a highly precise instrument, so it cannot be contaminated with dust. Once the instrument slides, camera lenses, etc. are contaminated with dust and dirt, it can cause serious harm to precision and imaging. Therefore, it is necessary to clean the instruments on time and strive to achieve a clean environment as much as possible. Staff must pay attention to changing boots or wearing foot covers when entering and exiting, and reduce staff entry and exit.


